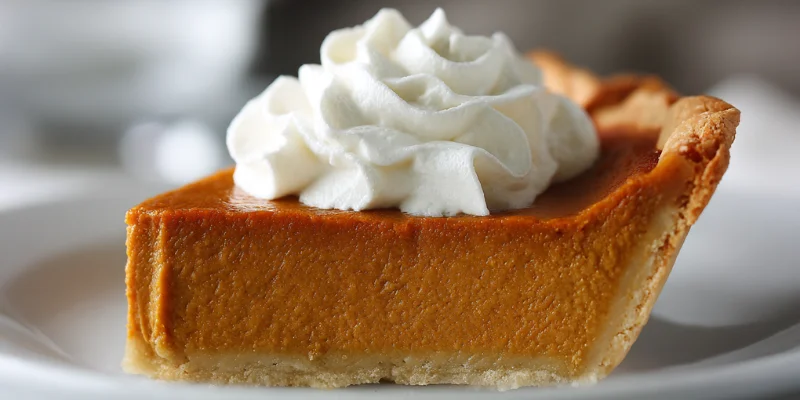
Homemade Pumpkin Pie with Decorative Vines and Leaves: The Perfect Fall Centerpiece
Why This Homemade Pumpkin Pie is the Only Recipe You Need This Fall
Pumpkin pie is the undisputed queen of the holiday dessert table. But making a Homemade Pumpkin Pie with Decorative Vines and Leaves elevates a simple dessert into a beautiful, rustic centerpiece. This recipe isn’t just about the stunning looks; it’s about the deep, creamy, perfectly spiced filling and a flaky, buttery crust that will make you forget every store-bought pie you’ve ever tasted.
We focus on two things here: texture and presentation. The filling is rich and custard-like, using a blend of spices that sings of autumn. The crust is made from scratch because a decorative pie needs a dough that’s easy to handle and holds its shape beautifully.
This pie is a celebration of the season, much like other holiday favorites we love. If you’re looking for other impressive but easy bakes to fill your festive dessert spread, try the playful Spider Chocolate Chip Cookies for a fun twist, or go decadent and warm with the Guinness, Whiskey, and Baileys Cupcakes for the adults.
Why You’ll Love This Recipe
Preparation and Cooking Time
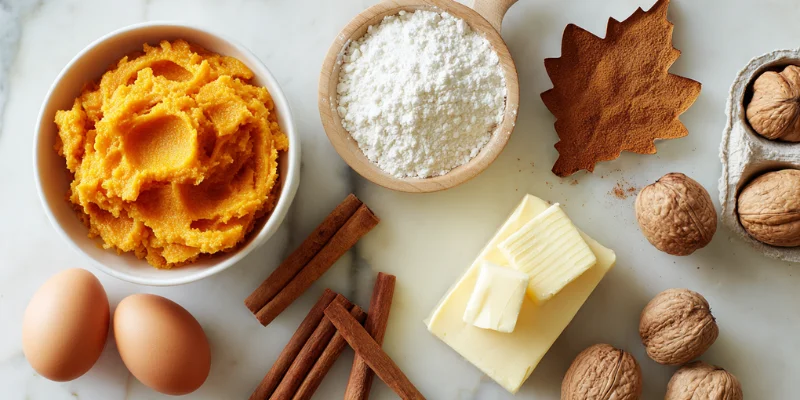
Ingredients: Part 1 – All-Butter Pie Crust
Ingredients: Part 2 – Spiced Pumpkin Filling
Step-by-Step Instructions
Step 1: Make and Chill the Pie Dough
In a large bowl, whisk the flour and salt. Cut in the cold butter using a pastry blender or your fingertips until the mixture resembles coarse crumbs with some pea-sized butter pieces remaining. Gradually sprinkle in the ice water, one tablespoon at a time, mixing until the dough just comes together. Form the dough into two discs (one slightly larger than the other), wrap in plastic wrap, and chill for at least 1 hour.
Step 2: Roll and Blind Bake
Roll the larger disc out into a 12-inch circle. Carefully transfer it to a 9-inch pie dish. Trim and crimp the edges. Prick the bottom crust all over with a fork (docking). Blind Bake Tip: Line the crust with parchment paper and fill with pie weights or dried beans. Bake at 400∘F (200∘C) for 15 minutes. Remove the weights and parchment, and bake for 5 minutes more. Cool completely.
Step 3: Create Decorative Pieces
Roll out the second, smaller dough disc. Use leaf and vine cookie cutters (or a small knife) to cut out various shapes. Chill the shapes on a baking sheet while you make the filling.
Step-by-Step Instructions: Filling and Baking
Step 4: Mix the Filling
In a large bowl, whisk together the pumpkin puree, heavy cream, granulated sugar, brown sugar, eggs, and egg yolk. Whisk in the vanilla, salt, and all the spices (cinnamon, ginger, cloves, and nutmeg) until the mixture is completely smooth and uniform in color.
Step 5: Assemble and Decorate
Pour the prepared pumpkin filling into the cooled, blind-baked pie shell. Carefully arrange your decorative leaves and vines around the edge or center of the pie filling. Pro Tip: If placing on the filling, wait until the pie has baked for 20 minutes so the surface is slightly set.
Step 6 : Bake the Pie
Bake at 400∘F (200∘C) for 15 minutes. Then, reduce the oven temperature to 350∘F (175∘C) and continue baking for another 35–45 minutes, or until the center is set (it should only have a slight jiggle).
Step 7 : Finish and Cool
Remove the pie from the oven. If the decorative pieces look pale, gently brush them with egg wash and return to the oven for 5 minutes. Cool the pie completely on a wire rack for at least 4 hours (or preferably overnight in the fridge) before slicing. This is crucial for the filling to fully set.
Nutrition Information Table (Estimated)
Based on an estimated 1/10 serving.
| Nutrient | Amount |
| Calories | 350 kcal |
| Protein | 6 g |
| Carbs | 45 g |
| Fat | 18 g |
| Fiber | 2 g |
Cozy Kitchen Moment
Craving more comforting dinners with a twist?
Try my Crispy Baked Hot Honey Chicken for that sweet-heat crunch or indulge in dessert with Strawberry Cheesecake Cookies.
Pro Tips for Success
How to Serve
Serve this gorgeous pie chilled or at room temperature.

Recipe Variations
Storage & Reheating
Fridge
Freezer:
FAQs
Final Throught
The Homemade Pumpkin Pie with Decorative Vines and Leaves is a small investment of time that pays off huge in presentation and flavor. It’s the perfect pie to showcase your baking skills and usher in the cozy, warm flavors of the fall season.
Homemade Pumpkin Pie with Decorative Vines and Leaves
Course: UncategorizedOne 9-inch deep-dish pie Export to Sheets
servings45
minutes50
minutes350
kcalIngredients
Crust: 2 1/2 cups flour, 1 cup cold butter, 1/2 tsp salt, 1/2 cup ice water.
Filling: 15 oz pumpkin puree, 1 cup heavy cream, 1 1/4 cup total sugar (granulated/brown), 3 eggs (2 whole + 1 yolk), 2 tsp cinnamon, 1 tsp ginger, 1/2 tsp cloves, 1/2 tsp nutmeg, 1/2 tsp salt, 1 tsp vanilla.
Directions
- Crust: Make dough with cold butter and ice water. Form 2 discs and chill 1 hour. Roll large disc, line pie dish, trim, and dock. Blind bake 400
- F for 15 min, then 5 min uncovered. Cool. Cut decorative shapes from small disc.
- Filling: Whisk all filling ingredients until smooth.
- Assemble & Bake: Pour filling into cooled crust. Arrange decorations. Bake at 400
- F for 15 min, then reduce to 350
- F for 35−45 min until set.
- Cool: Cool completely (4+ hours) before slicing.
Notes
- Presentation: Brush decorations with egg wash during the last 5 minutes of baking for a golden sheen.
- Dessert Table: These festive pies make a beautiful centerpiece alongside fun, colorful treats like the Spider Chocolate Chip Cookies.