Halloween Zombie Brain Cupcakes Recipe: The Ultimate Gross-Out Guide
Unveiling the Masterpiece: Why Your Halloween Needs Zombie Brain Cupcakes
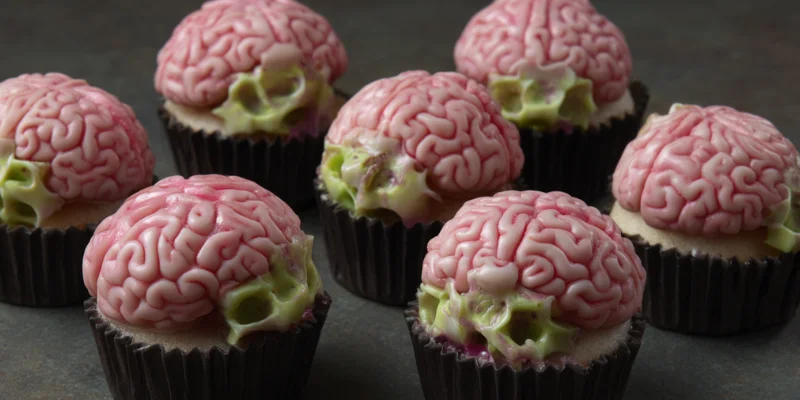
Halloween demands decorations that are spooky, costumes that are creative, and treats that are just a little bit gross. And when it comes to combining gruesome aesthetics with genuinely delicious flavor, nothing beats these Halloween Zombie Brain Cupcakes.
Forget the ghosts and pumpkins for a minute; we’re diving into the delightfully macabre world of the undead. These aren’t just cupcakes; they’re edible props that will steal the show at any Halloween party. Each one features a rich, moist red velvet cupcake base, perfectly tinted to a chilling crimson, crowned with a detailed, gruesome ‘brain’ made from tangy cream cheese frosting, and drizzled with a terrifying (and tasty!) raspberry ‘blood’ sauce.
Creating the ‘brain’ texture is easier than you think. While the final product looks like it took hours of surgical precision, the simple piping technique is surprisingly forgiving. This recipe is designed to give you that high-impact, shock-factor dessert without the complicated effort.
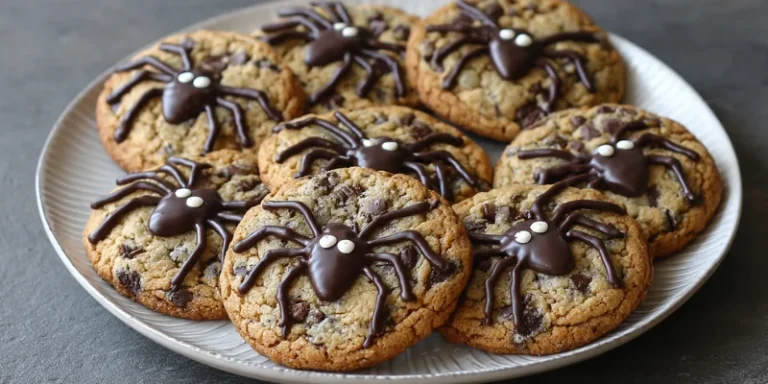
If you’re looking to fill out your spooky dessert table with other themed treats, these brain cupcakes pair perfectly with the playful fun of my Spider Chocolate Chip Cookies. The contrast between the dark, chewy cookie and the vibrant, gruesome cupcake makes for an unforgettable Halloween spread.
Why This Recipe is Your Halloween Essential
Preparation and Cooking Time
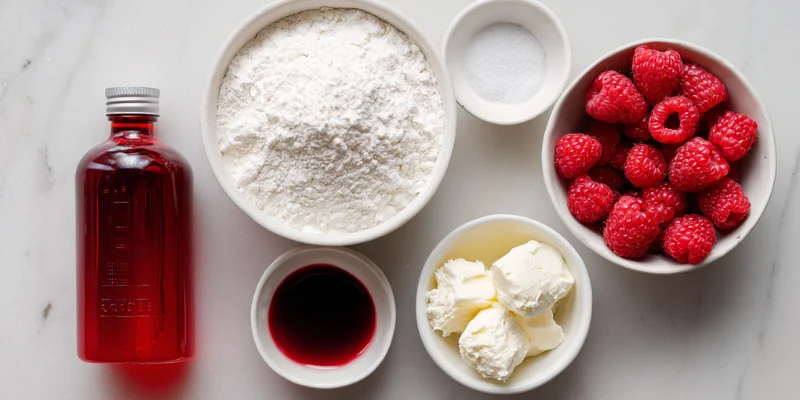
Ingredients: Part 1 – The Red Velvet Cupcakes
Simple pantry favorites, plus a few special touches:
Dry Ingredients
Wet Ingredients
Ingredients: Part 2 – The ‘Brain’ Frosting
Ingredients: Part 3 – Raspberry ‘Blood’ Sauce
Step-by-Step Instructions: Cupcake Base

Step 1: Prepare the Dry Ingredients
Preheat your oven to 350∘F (175∘C). Line a standard 12-cup muffin tin with cupcake liners. In a medium bowl, whisk together the flour, baking soda, salt, and cocoa powder.
Step 2: Cream and Mix Wet Ingredients
In a large bowl or stand mixer, cream the softened butter and sugar until light and fluffy. Beat in the eggs one at a time, then mix in the vanilla extract.
Step 3: Color and Acid
In a small bowl, mix the buttermilk, red food coloring, and white vinegar. This combination activates the cocoa powder, giving the cake its traditional color and subtle tang.
Step 4: Combine Batters
Alternate adding the dry ingredients mixture and the colored buttermilk mixture to the butter mixture, beginning and ending with the dry ingredients. Mix until just combined—do not overmix!
Step 5: Bake
Fill the cupcake liners 2/3 full. Bake for 18–20 minutes, or until a toothpick inserted into the center comes out clean. Let them cool in the pan for 5 minutes before transferring them to a wire rack to cool completely. They must be completely cool before frosting.
Step-by-Step Instructions: Frosting & Assembly
Step 6 : Make the Cream Cheese Frosting
In a stand mixer, beat the cold cream cheese until smooth. Add the softened butter and beat until fully combined and fluffy (about 2 minutes). Gradually add the sifted powdered sugar and beat until smooth. Mix in the vanilla, salt, and optional hint of pink food coloring. The frosting should be thick enough to hold its shape.
Step 7 : The Brain Piping
Transfer the frosting to a piping bag fitted with a small, round piping tip (like Wilton 1 or 2). Pipe a solid layer of frosting onto the cooled cupcake dome to create a base. Then, pipe a straight line down the center of the cupcake (this is the crease that separates the two brain hemispheres). Now, pipe two long, continuous, wavy, squiggly lines down one side of the center line, moving back and forth to fill the space. Repeat on the other side. This creates the ‘gyri’ or folds of the brain.
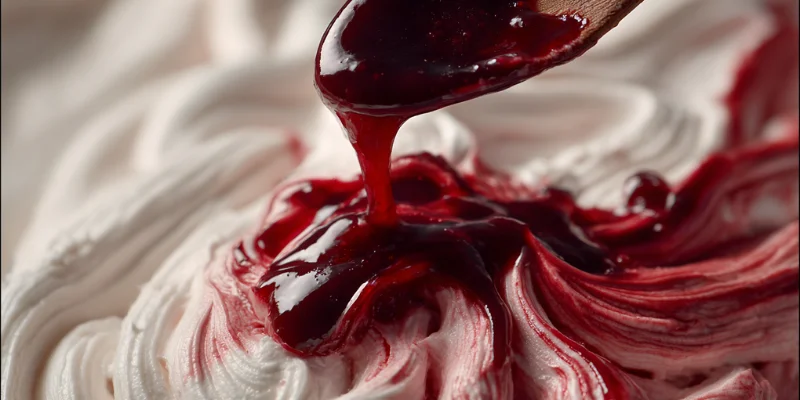
Step 8 : Prepare the ‘Blood’ Sauce
In a small saucepan, combine raspberries, sugar, and water. Bring to a simmer over medium heat and cook for 5 minutes, pressing the raspberries gently with a spoon. Remove from heat and stir in the lemon juice and optional red food coloring. Strain the mixture through a fine-mesh sieve, pressing the solids to extract all the liquid. Let the sauce cool completely—it will thicken slightly.
Step 9: The Final Gore
Once the ‘brain’ frosting is set, use a small spoon to gently drizzle the cooled raspberry ‘blood’ sauce over the top of the cupcake, concentrating the sauce in the center crease and allowing some to drip down the sides. Serve immediately for maximum impact!
Nutrition Information Table (Estimated)
Based on an estimated 1 standard cupcake with frosting and sauce.
| Nutrient | Amount |
| Calories | 350 kcal |
| Protein | 4 g |
| Carbs | 55 g |
| Fat | 13 g |
| Fiber | 1 g |
Cozy Kitchen Moment
Craving more comforting dinners with a twist?
Try my Savory Caramelized Shallot Bacon Gravy for that sweet-heat crunch or indulge in dessert with Strawberry Cheesecake Cookies.
Pro Tips for Zombie Success
Deep Dive into the Brain Piping Technique
The secret to a realistic-looking brain is to not be perfect. The folds (gyri) in a brain are complex and irregular
Presentation: Serving Your Undead Delights
Recipe Variations
Storage & Freezing
Storage
Freezing (Unfrosted):
FAQs
Final Throught
The Halloween Zombie Brain Cupcakes are proof that the best holiday treats are those that commit fully to the theme. They’re fun, easy to make, and guaranteed to earn you the title of best host/hostess this Halloween season. Get your piping bags ready and embrace the beautiful gore!
Halloween Zombie Brain Cupcakes Recipe: The Ultimate Gross-Out Guide
Course: Uncategorized18
servings25
minutes20
minutes350
kcalIngredients
Cupcakes: Flour, baking soda, salt, cocoa powder, butter, sugar, eggs, vanilla, buttermilk, vinegar, red food coloring.
Frosting: Cream cheese (chilled), softened butter, powdered sugar, vanilla, salt, optional pink coloring.
Sauce: Raspberries, sugar, water, lemon juice
Directions
- Bake Cupcakes: Cream butter and sugar, add eggs and vanilla. Alternate dry mix and buttermilk/coloring/vinegar mix. Bake at 350
- F (175
- C) for 18−20 min. Cool completely.
- Make Sauce: Simmer raspberries, sugar, and water for 5 min. Strain and cool completely.
- Make Frosting: Beat cold cream cheese and butter. Add powdered sugar, vanilla, and salt until thick and stiff. Tint lightly pink/red if desired.
- Pipe Brains: Pipe a solid base layer of frosting. Using a small round tip, pipe a straight line down the center. Then, pipe continuous, tight, wavy squiggles back and forth from the center line to the edge on both sides.
- Finish: Drizzle cooled raspberry ‘blood’ sauce over the brain folds and serve.
Notes
- Firm Frosting: Use chilled cream cheese and add extra powdered sugar to keep the frosting firm for piping the details.